
Unnumbered pageScan 71 of 103
139
Photograph
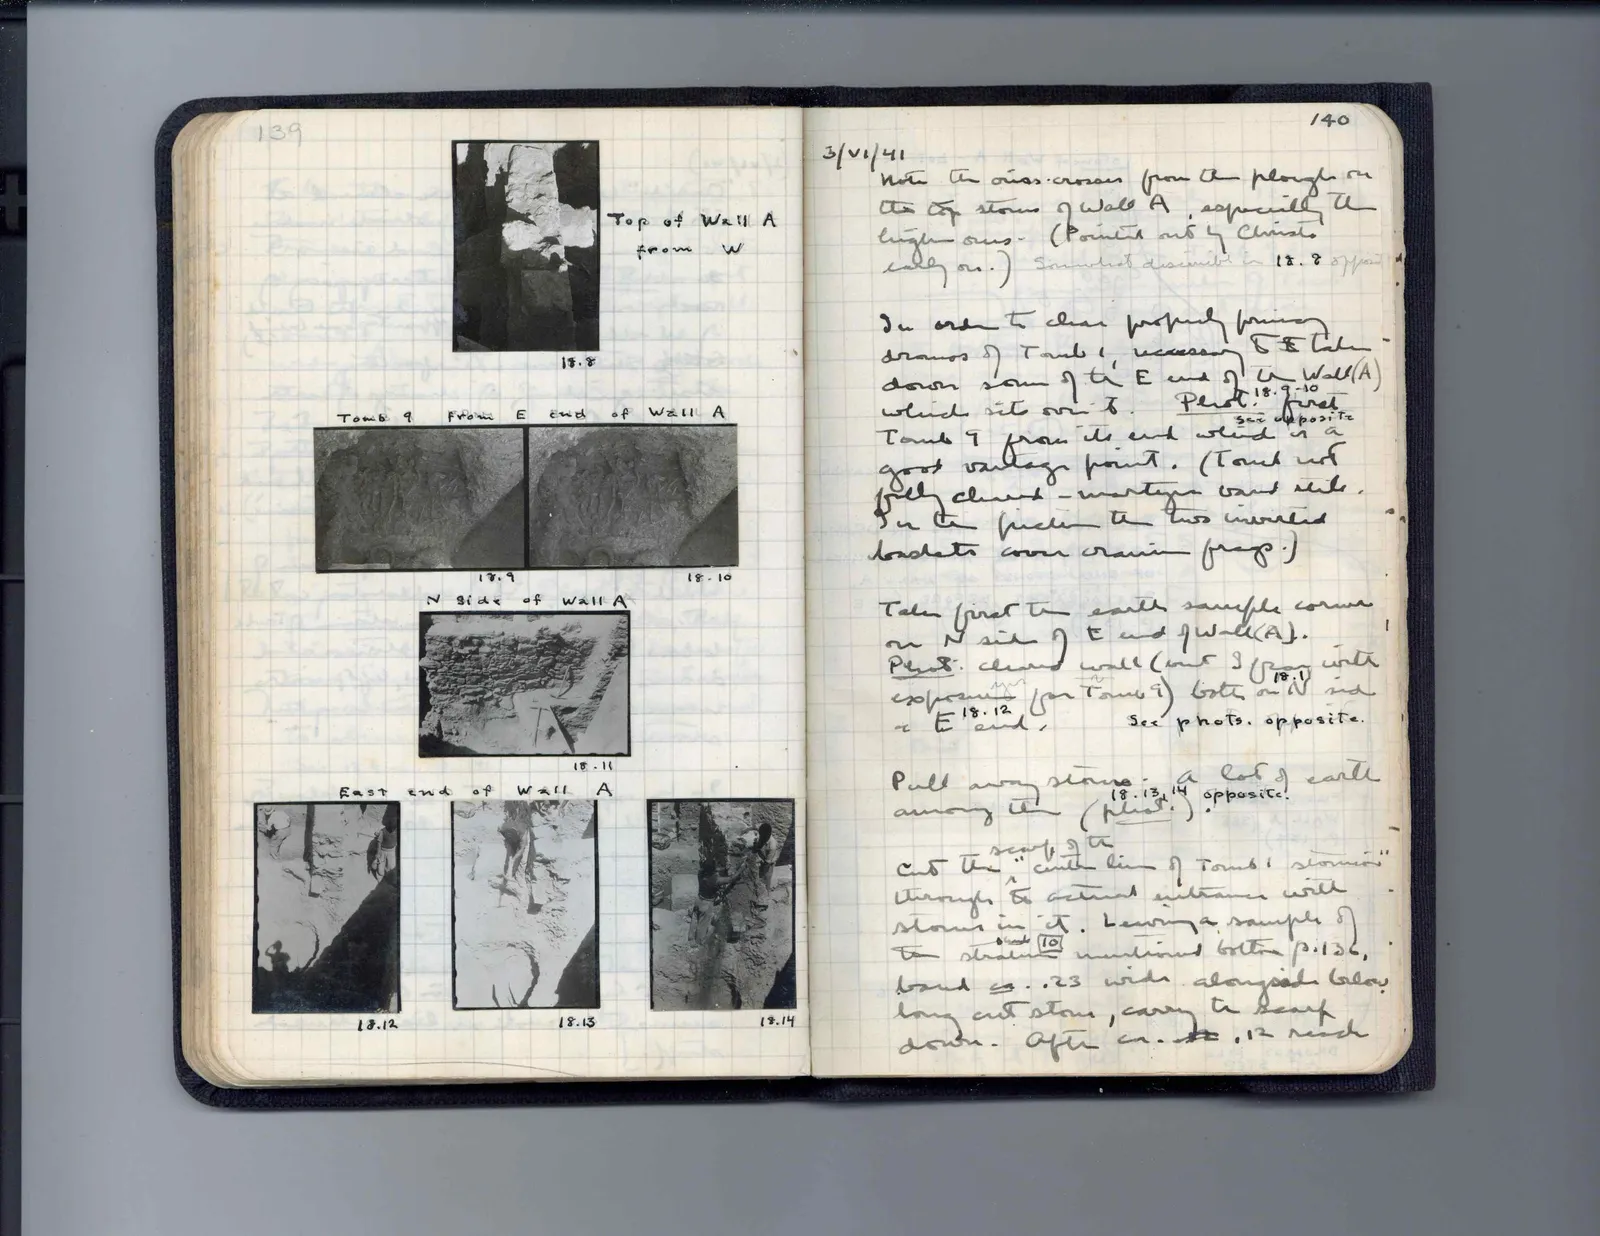
Top of Wall A from W 18.8
Tomb 9 from E end of Wall A
Photograph
18.9
Photograph
18.10
N side of Wall A
Photograph
18.11
East end of Wall A
Photograph
18.12
Photograph
18.13
Photograph
18.14
Right page
140
3/VI/41 Note the criss-crosses from the plough on the top stones of Wall A, especially the higher ones. (Pointed out by Christo early on.) 18.8
In order to clear properly for view dromos of Tomb 1, necessary to take down some of the E end of the Wall (A) which sits over it. Phot. 18.9-10 first see opposite Tomb 9 from its end which is a good vantage point. (Tomb not fully cleared -- more figures want relief. In the picture the two inverted bowls cover crania frag.)
Take first the earth sample corner on N side of E end of Wall (A). Phot. cleared wall (out of for Tomb 9) with exposure for Tomb 9, both on N side & E 18.12 end. See phots. opposite.
Pull away stones -- a lot of earth among them (phot. 18.13, 14 opposite.)
Cut the scarp of the "center line of Tomb 1 stomion" through to actual entrance wall stones in it. Leaving a sample of the stratum [10] mentioned bottom p. 136, band ca. .23 wide alongside of large long cut stone, carry the scarp down. After ca. .32 .12 reach
65 figures hard to readstruck struck outadded written in above” jug ditto, and what it repeatsword reading not certain